|
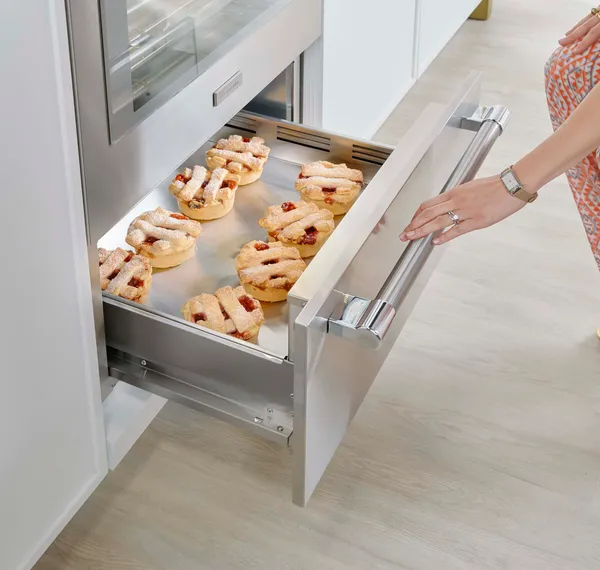
Welcome to the official Thermador Warming Drawer guide. Get tips on how to proof dough in your warming drawer. Learn how to warm different foods in your warming drawer and view our guide on heat level for different types of foods. Watch a step-by-step guide on using your warming drawer controls on a stand alone warming drawer. If you are looking for warming drawer information for your range visit:Range Warming Drawer FAQs > Refer to your owners manual as directions and recommendations may vary. If you do not have your owner's manual, click here. Click on the tabs below to view helpful tips for your appliance. If you need further assistance, please contact Thermador Customer Support: 1-800-735-4328. |
How to Proof Dough in a Warming Drawer
Watch the video to learn tips for proofing dough in your warming drawer.
To proof dough in your warming drawer place dough in desired dish in the cold warming drawer. It should be lightly oiled on top of dough and loosely covered with a cloth.
1. Press PROOF.
2. Set the warming timer.
3. Check dough height. Add time as needed

How to Warm Food
Follow these steps to warm your food:
- 1. Turn on the warming drawer.
- 2. Select the desired heat setting (LOW, MED, HIGH) on the control panel.
- 3. Preheat the warming drawer.
- 4. Set the timer if desired.
- 5. Place your food in the drawer and close. Make sure your food is in a heat-safe dish.
Different models have different instructions for warming your food. Please refer to your owner's manual. If you do not have one, you can download it here.

How to Crisp Stale Items
Follow these steps to crisp stale items:
- 1. Press LOW.
- 2. Preheat for 5 minutes, then place the food in the drawer and close.
- 3. Set the warming timer.
- 4. Check crispness after 45 minutes. Add time as needed.
Different models have different instructions for crisping your food. Please refer to your owner's manual. If you do not have one, you can download it here.

What Are the Different Temperature Recommendations?
Warming drawer heat level recommendations:
High: Bacon, eggs, fried food, pizza, baked potatoes, waffles, pancakes
Medium: Beef (medium, well done), bread items like hard rolls, soft rolls, coffee cakes, biscuits and toast, casserole, gravy, cream sauces, ham, lamb, pork, pies, mashed potatoes, roasted poultry, seafood, vegetables, plate of food
Low: Beef (medium rare), crisping stale items, plates
Note: Preheat all cookware prior to inserting into the warming drawer. If the cookware has previously been used to prepare a dish, then no preheating is necessary.
Tips for Warming Empty Serving Bowls:
When warming empty serving bowls and plates use only heat-safe dishes, warm on the low setting. Do not preheat drawer prior to placing dishes and check on the dishes during the warming period.
Refer to your owner's manual to learn which temperature will be best for your dish. If you do not have an owner's manual, you can download it here.
Warming Drawer Controls & Preheating Tips
To turn the warming drawer on follow the instructions below or watch the video, these instructions refer to the stand alone warming drawer. Refer to your owners manual as directions may vary for triple ovens. If you do not have your owner's manual, click here.
- Changing the Warming Timer: Use the + and - pads to change the warming timer. When the time is elapsed, the control panel beeps and the drawer automatically turns off.
- Turning the Warming Drawer On/Off: Press ON | OFF to turn the warming drawer on/off
- Temperature Setting: Press down on the temperature setting you would like low, medium, high or proof.
Tip: Allow the drawer to preheat for best results:
- Low: 10 minutes
- Medium: 15 minutes
- High: 20 minutes
- Proof: No preheating necessary
Note: Do not preheat drawer prior to placing empty serving bowls and plates in the warming drawer.
DO NOT use aluminum foil or protective liners to line any part of the warming drawer, especially the oven bottom. Installation of these liners may result in a risk of electric shock or fire.
